Making Creamed White Chocolate Truffles is a delightful experience. The tutorial guides you step-by-step.
The two chocolates that the recipe calls for may be substituted. Using the called-for chocolate tends to taste better. But for learning, use what you can easily obtain.
White chips or white morsels may be substituted for white chocolate.
Any chocolate chips other than white may be substituted for milk chocolate.
The Creamed White Chocolate Truffles are made by stirring cream cheese into melted white chocolate. The result is a creamed white chocolate. That delicious mixture is formed as truffle candy centers. The truffle candy centers are dipped in milk chocolate.
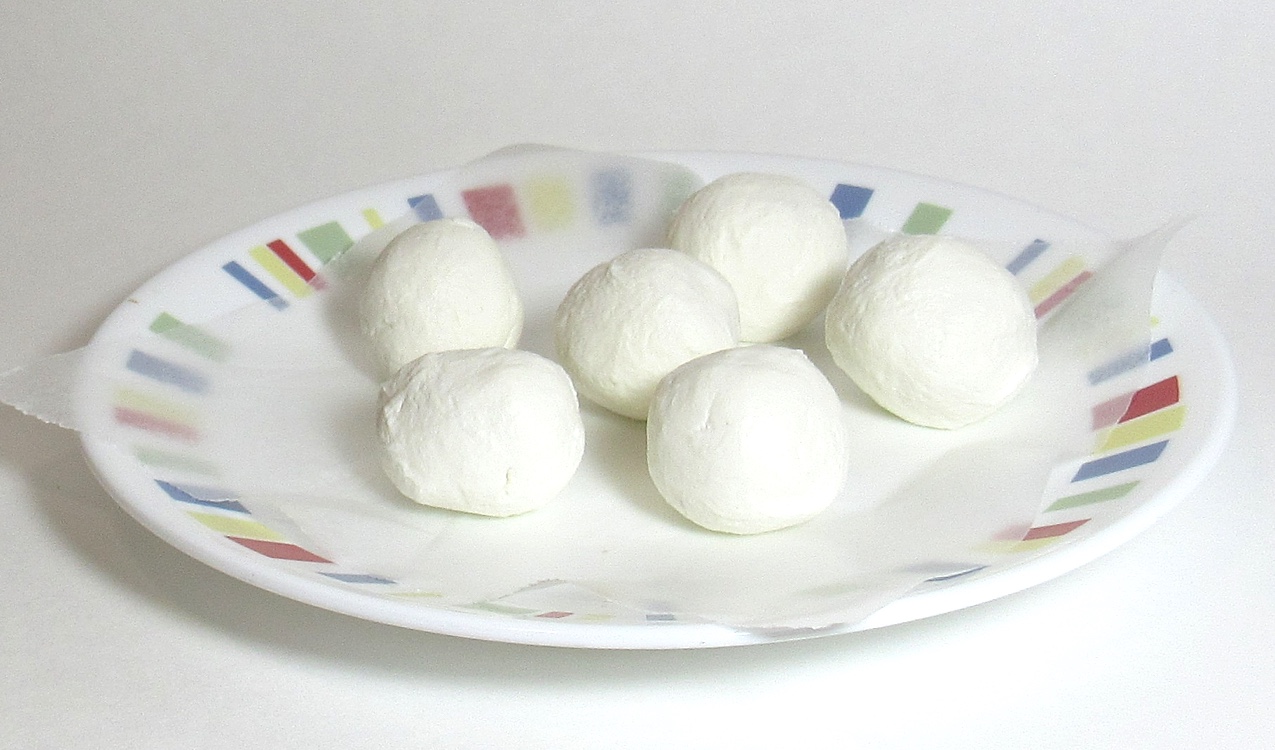
The truffle center, before being dipped, is a simple taste, but delightful — the taste of creamed white chocolate.

The Amish-recipe creamed white chocolate truffle candy centers, formed, ready for dipping.
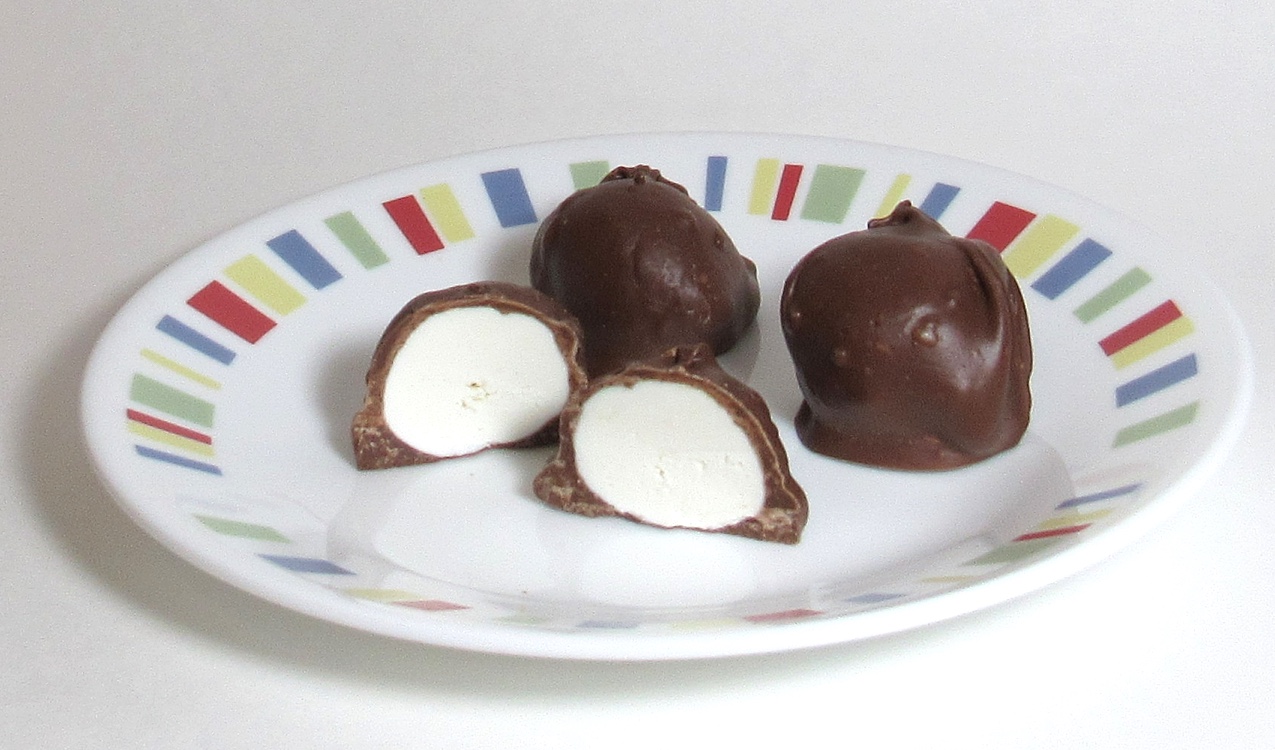
After the truffle candy center is dipped in milk chocolate, the taste may take you to an extra dimension.
The creamed white chocolate tastes how an imaginary "white milk chocolate" would if it was available. And that goodness is coated with regular milk chocolate.

The creamed white chocolate truffle candy dipped in milk chocolate.
When you make this truffle for your family and (if any candy is left over) for your friends, you may become known as the candy magician.
Delicious? Yes!
Yummy? Absolutely!
Ready for yummy?
Come along and do the steps.
(The Appendix has a reprint of this Creamed White Chocolate Truffles recipe, in general recipe format and without links to the information steps.)
This is a small-portion recipe. If you wish, you may double the measurements.

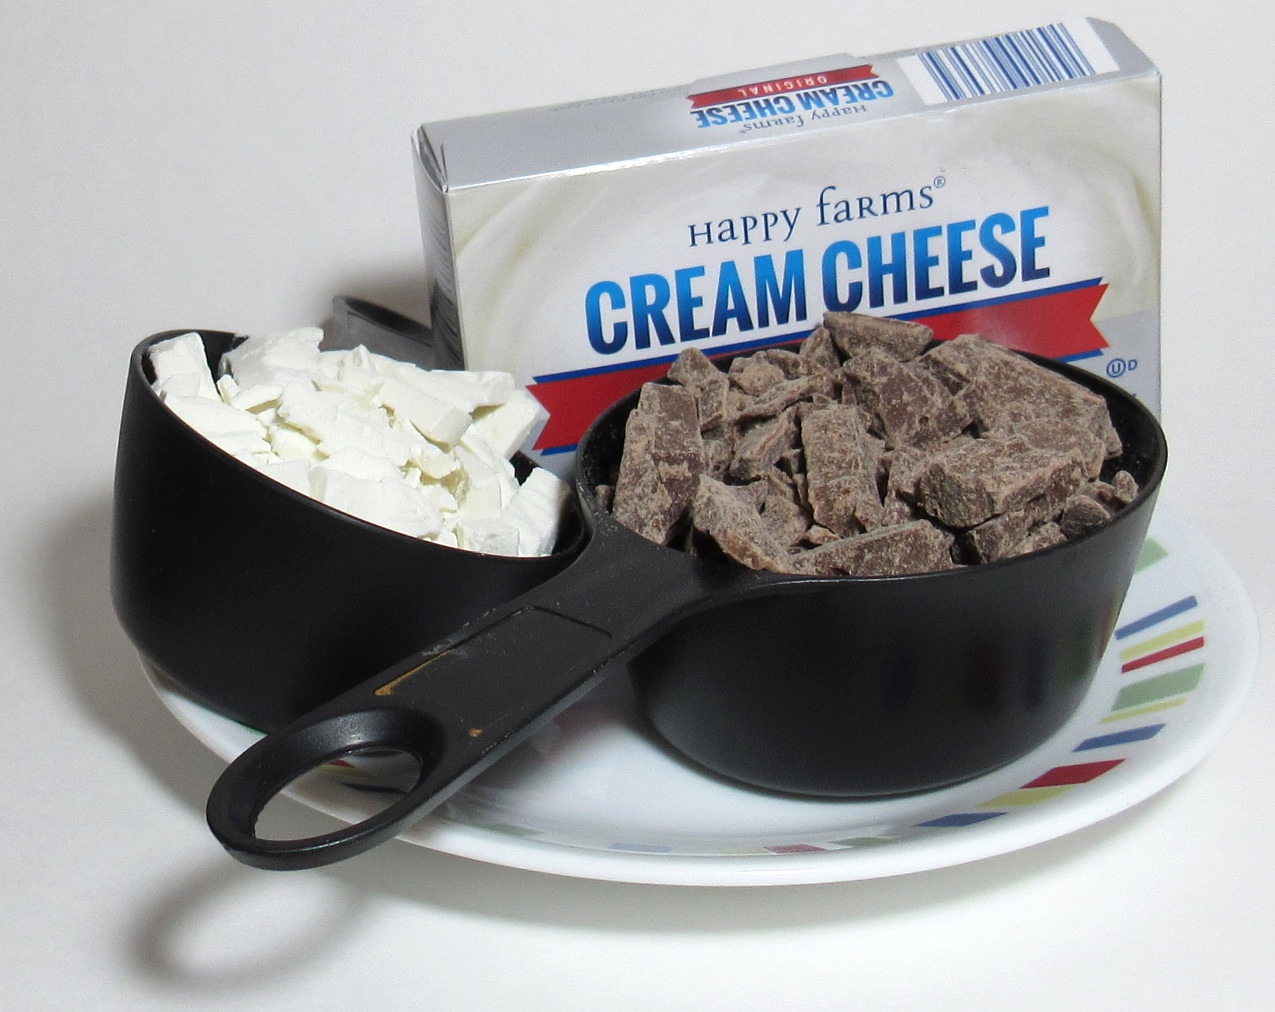
These three ingredients are used to make creamed white chocolate truffles.
Here is the ingredients list.
1/2 ounce cream cheese
1/2 cup white chocolate
3/4 cup milk chocolate
Here are links to basic information you may wish to view before following the step-by-step instructions.
Step 1 —
Melt the white chocolate. During the melting, you will need a small plate and 2 spoons to work with the white chocolate during the melting process.
Step 2 —
Stir the melted white chocolate and the cream cheese together. When blended, you'll have a truffle candy mixture.
Notice as you stir in the cream cheese, the melted white chocolate changes texture. You'll end up with a thicker mixture.
Step 3 —
Re-blend the mixture every 5 minutes or less while the mixture firms up. You'll notice the texture continues to change. Eventually (timing depending on ambient temperature and humidity, probably 15−30 minutes), you should get a smooth candy.
Step 4 —
Prepare a wax paper-lined plate to receive the candy centers when they are firm enough to shape.
Step 5 —
When the truffle mixture is firm enough to do so, form bite-size rounds for candy centers. Place the formed truffle candy centers on the prepared plate.
The formed truffle candy centers will need to stand in a coolish, dry place until they become firm enough to dip without losing their shape or falling apart.
Step 6 —
When the formed truffle candy centers have reached your preferred firmness, melt the milk chocolate in preparation for dipping.
Step 7 —
Prepare a wax paper-lined plate to receive the milk chocolate-covered truffles.
Step 8 —
Using a fork or small spoon, dip a truffle center into the melted milk chocolate, making sure the center is coated all the way around. Gently place it on the prepared plate.
Step 9 —
Dip each of the formed truffle candy centers, one at a time.
Step 10 —
Let the milk chocolate-covered truffles dry.
Congratulations. You made chocolate-covered truffles!
When the truffles have dried so they are no longer sticky, you have eminently edible truffle candy — creamed white chocolate dipped in milk chocolate.
You know, or will with your first taste, that these truffles are levels higher in satisfaction than candy purchased in a general store's candy section.
There are many more flavors to make and taste. Get the Amish Recipes; Milk Chocolate-Covered White Chocolate Truffles book for over 20 recipes. (It also contains a how−to very much like this tutorial.)
When you and your family are satisfied, consider sharing with friends.
This is a goodness.